A quality drink needs a quality bottle


Depending on their size and shape, glass containers need a minimum thickness to safely protect the contents during filling, storage and transportation. At the same time, containers should not be thicker than necessary in order to minimize manufacturing and shipping costs.

Since production is subject to certain process fluctuations, containers require a nominal thickness that is higher than the minimum thickness. If all containers are checked for compliance with the minimum thickness, the nominal thickness can be reduced, since containers that are too thin may be rejected.

Inline Container Measurement (ICM)

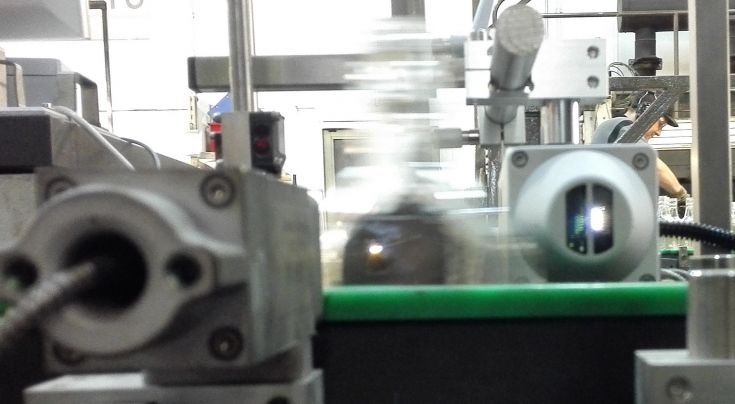
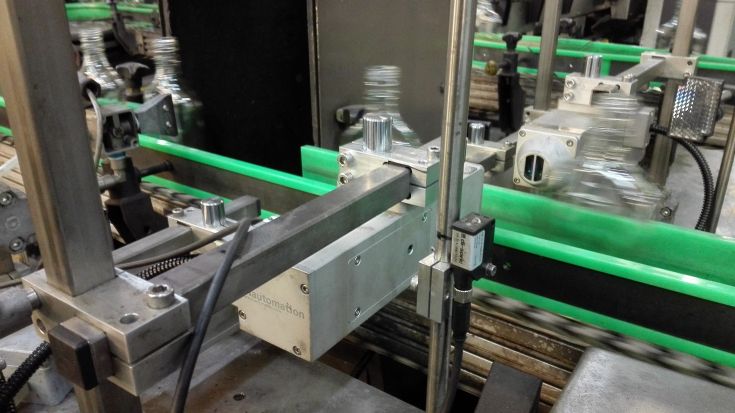
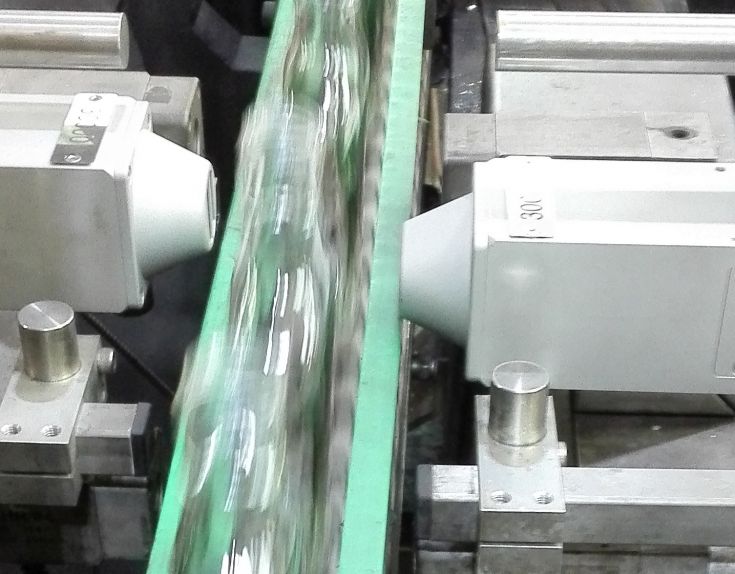
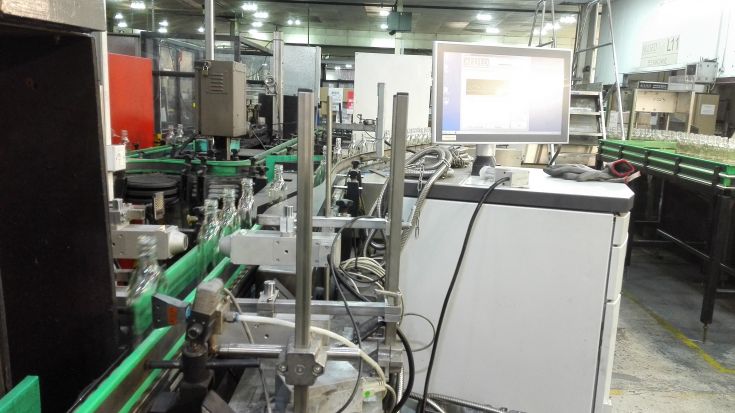
Our ICM measures the wall thickness of transparent containers. It can be integrated into (stop-rotate) inspection machines or set up to work independently; furthermore, it can also be installed directly on the conveyor belt. The latter is particularly suitable for non-round containers, since their thickness can usually only be measured inadequately on rotary machines.

The up to 24 measurement channels on an ICM also permit multi-point probes to be used that reliably detect thin areas even as they move upwards over the course of production.

The ICM’s measurement channels can be assigned to several independent controllers so that one ICM can:

  • measure independently on multiple lines
  • combine measurements on the conveyor belt and rotary machine
  • be integrated into an orientator that turns bottles through 90°, for example, thus enabling more than 2 sides to be measured inline.

Features

  • Up to 24 measurement channels
  • Up to 4,000 measurements per second and channel
  • Up to six independent controllers

Typical features of a 12 mm probe:

  • Thickness measurement range: 0.5-12 mm
  • Working distance: 48 +-5 mm (w/o protective casing)
  • Spot measurement; spot size: ~30 µm

Offline Container Measurement (OCM)

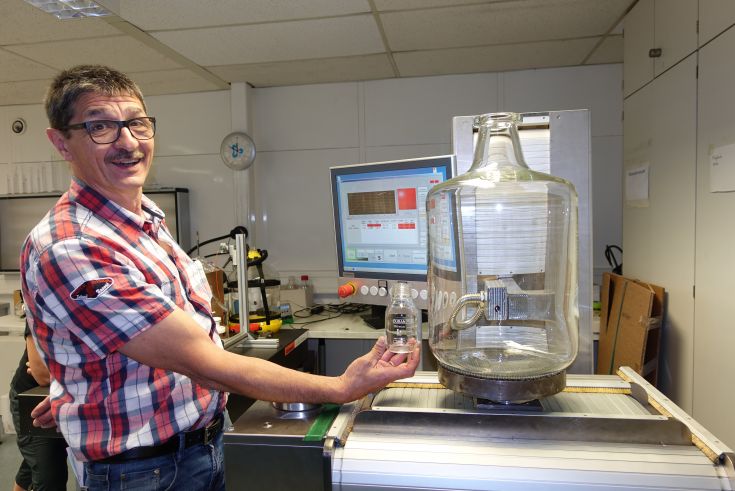
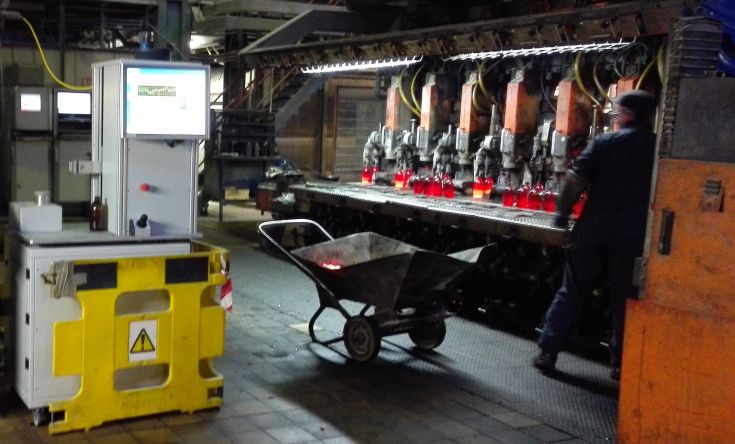
Our OCM has been designed to measure hot containers in rough production environments. It can therefore not only be used in the QC lab to validate wall thicknesses and diameters, etc., but also at the hot end to monitor production results and check adjustments. Here, the number of rejects and amount of work time are significantly reduced because the containers do not have to cool down before measurement.

Features

  • Thickness measurement
  • Calculation of ovality and tilt
  • Up to 4,000 measurements per second
  • Thickness measurement range: 0.5-12 mm
  • Working distance: ~30 mm
  • Spot measurement; Spot size: ~30 µm